


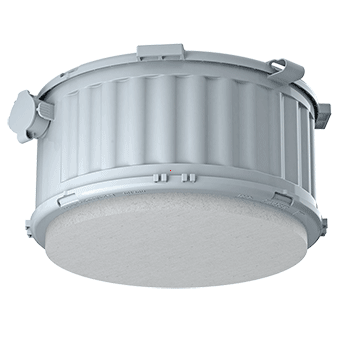


ThermoX® installation housing
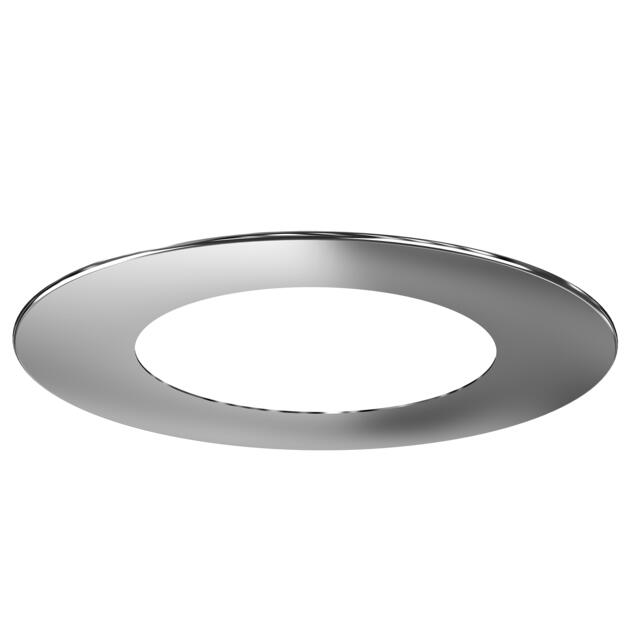
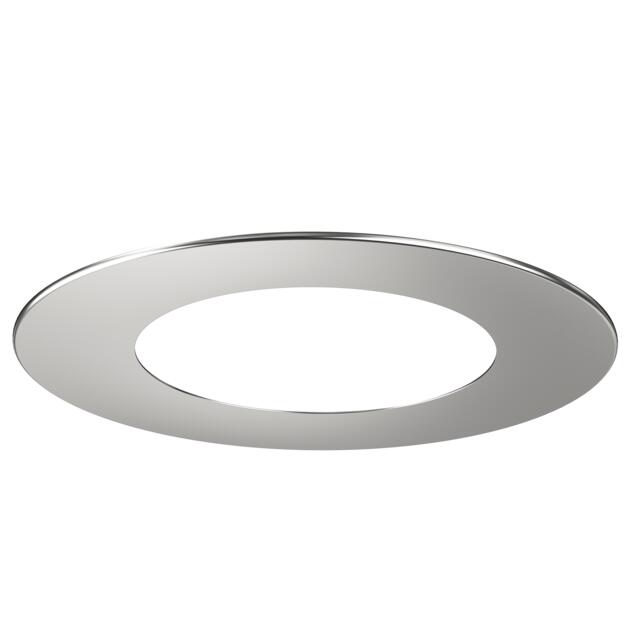
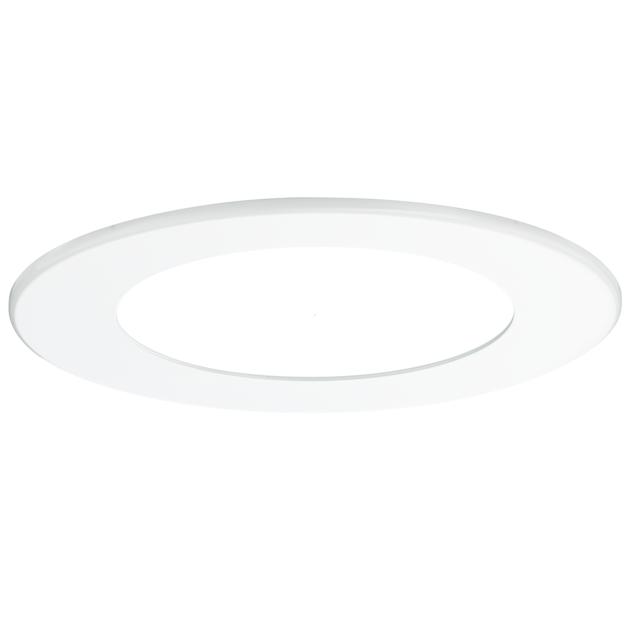
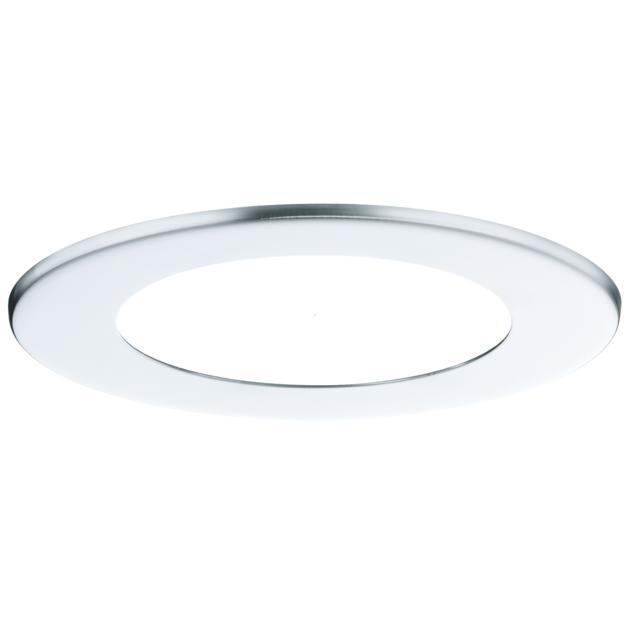
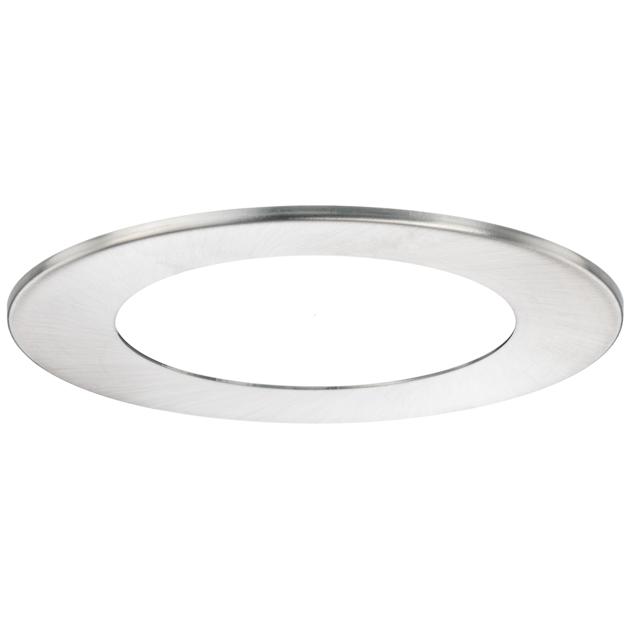
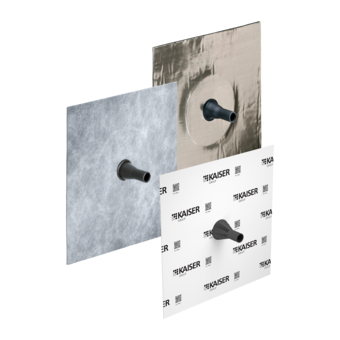
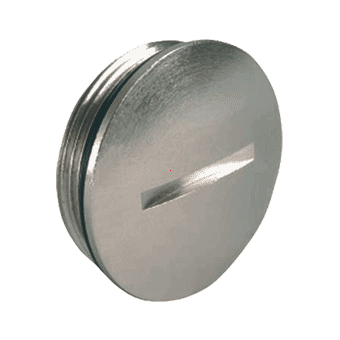
ThermoX® Decorative coverings
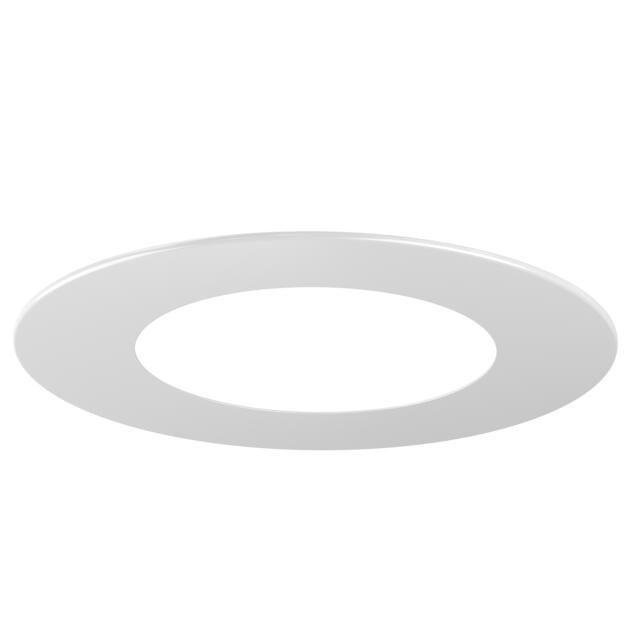
- Article no: 9301-01
- EAN: 4013456212114
- metal with galvanised or powder coating
- only for interiors
- minimum diameter of the luminaire 79 mm with ceiling exit Ø 68 and 75 mm
- Minimum diameter of luminaire covering 86 mm with ceiling exit Ø 82 mm
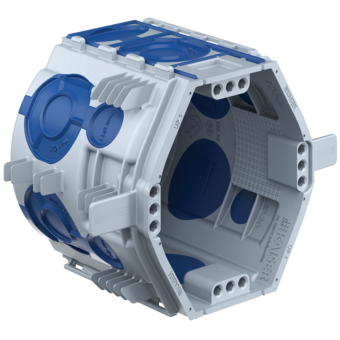
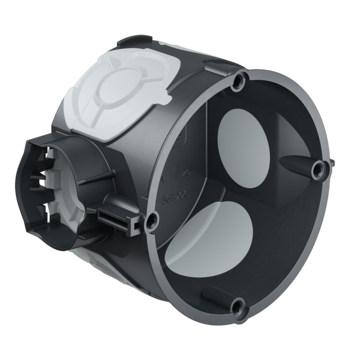
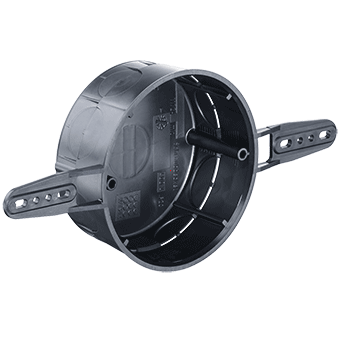
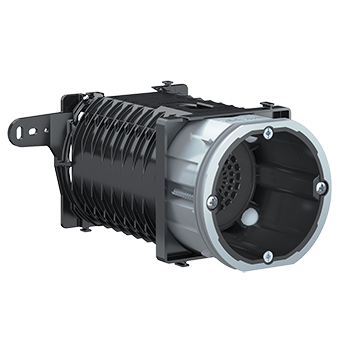
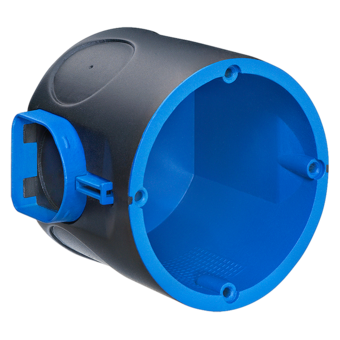
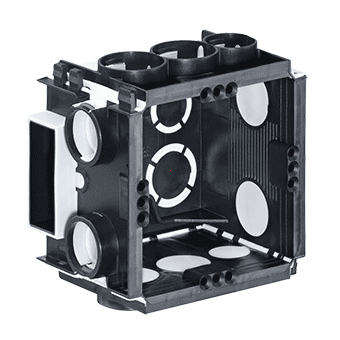
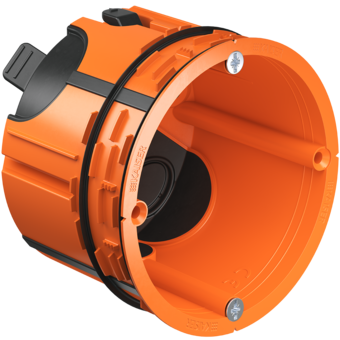
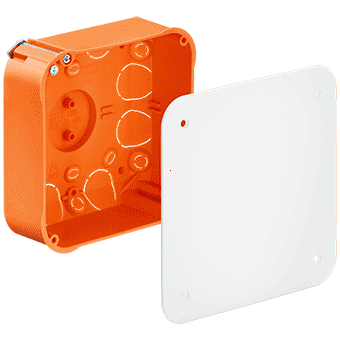
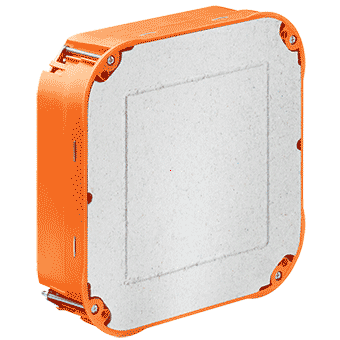
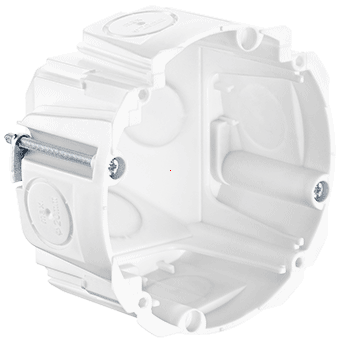
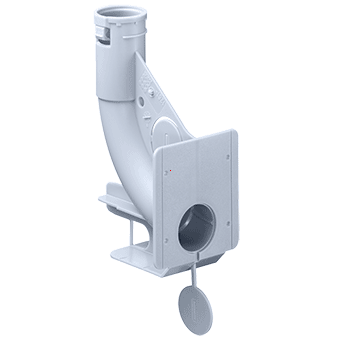
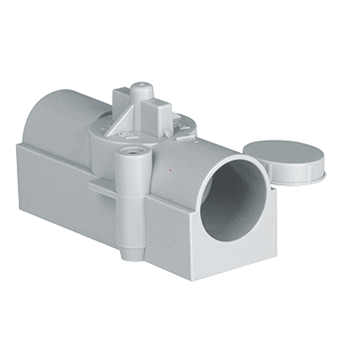
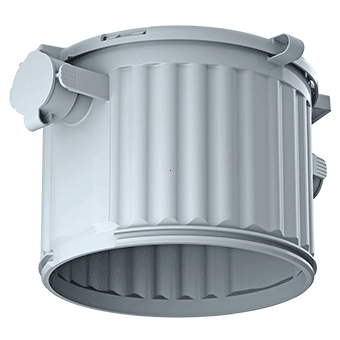
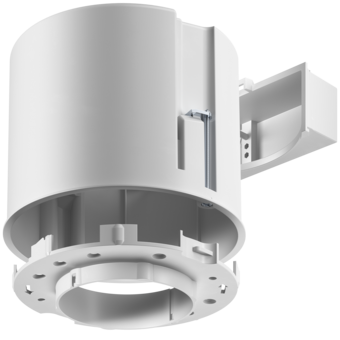
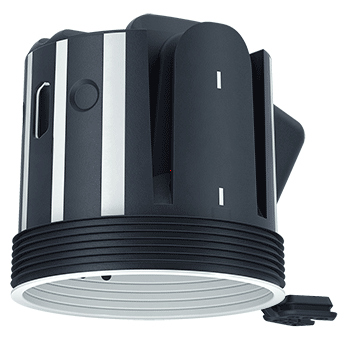
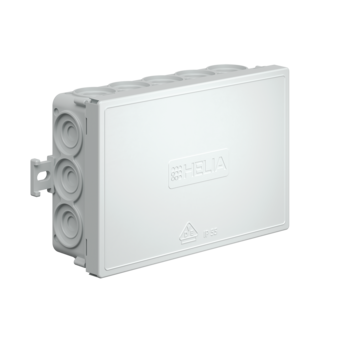
ThermoX® installation housing
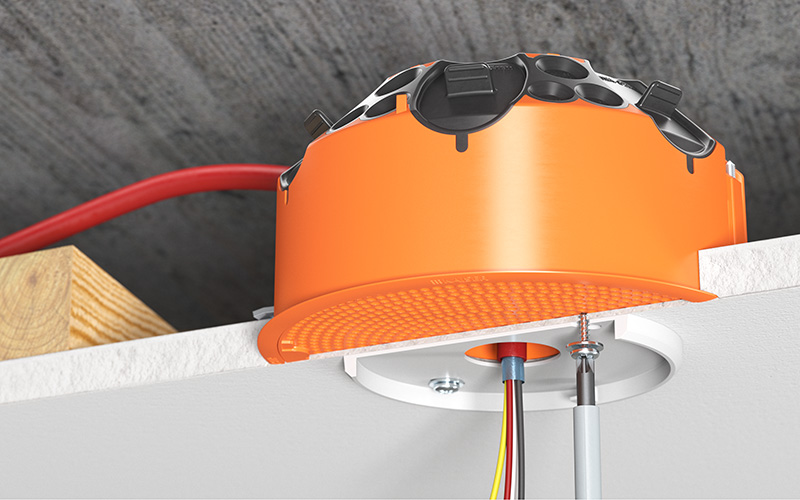
ThermoX® installation housing for installing halogen and pivoting recessed LED luminaires in various ceiling structures. The housing protects the surrounding material (moisture barrier foil, insulation etc.) from the lamp's extreme operating temperatures and creates an air-tight closure.
- Installation housing for halogen luminaires (low voltage and high voltage)
- Fire-preventive and air-tight
- For insulated hollow ceilings
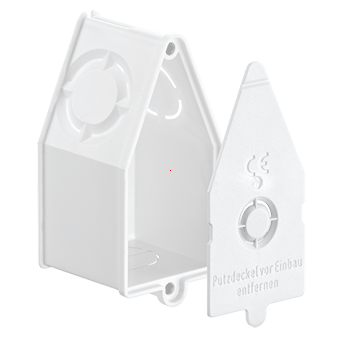
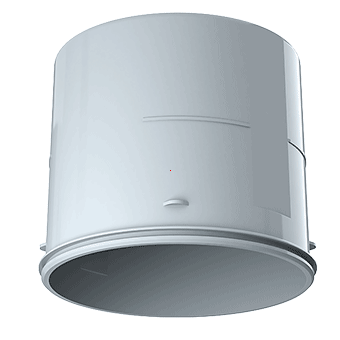
- Two different front part types
- Integrated transformer closing cap
- Ceiling exits (CE) up to Ø 86 mm
- Installation from either above or below


Installation technology for low-voltage and high-voltage luminaires


Slab ceiling / Installation from above: during ceiling installation
Cut the installation opening and insert the housing from above. The shape of the front part ensures a secure and precise fit in the boarding. After the luminaire has been installed, the opening is completely concealed.


Slab ceilings / Installation from below: retrofitting
Cut an installation opening, insert the housing from below and fix in place with a fast screw attachment. The housing is attractively concealed by the KAISER decorative covering and the luminaire.


Plasterboard / Installation from below: retrofitting / smoothing
Before installation, check the required installation depth! Cut the installation opening, chamfer the bottom edge of the installation opening. Insert the housing from below and fix in place with a fast screw attachment.


Plasterboard / Installation from below: retrofitting with mineral fibreboard
Cut and chamfer the installation opening. Insert the housing from below and fix in place with a fast screw attachment. Mark opening for luminaires and cut. Smooth the joint or simply wallpaper the surface.


Technical processing instructions / standards
- use only certified (EN 60598) luminaires which are suitable for direct installation on normally flammable materials
- use heat-resistant cable for the SEC side
- electronic safety transformers up to 105 VA can be used. Dimensions max. 123 x 37 x 26 mm. A rounded shape is advantageous for installation and removal (e.g. PC mouse shape)
- Use heat-resistant terminals (e.g. T100)
- Distance of holder and cable to the housing min. 10 mm
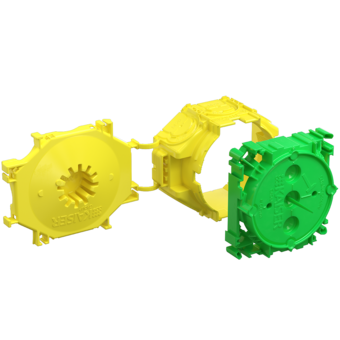
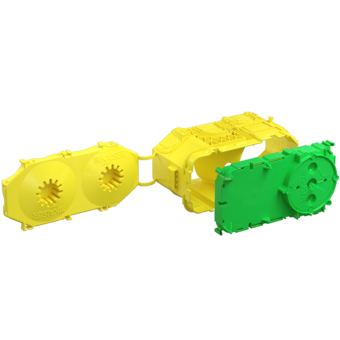
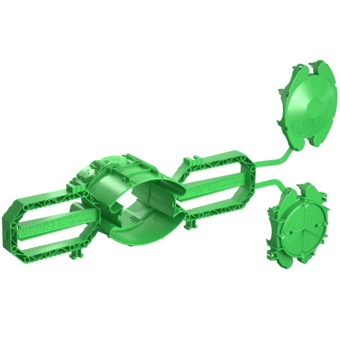
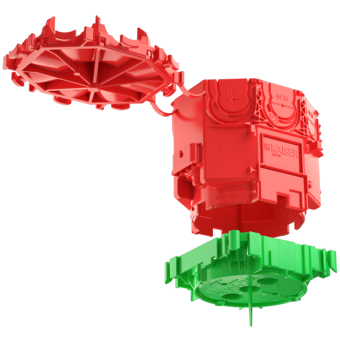
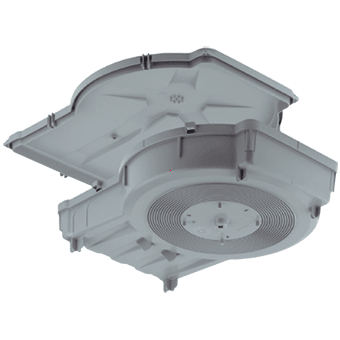
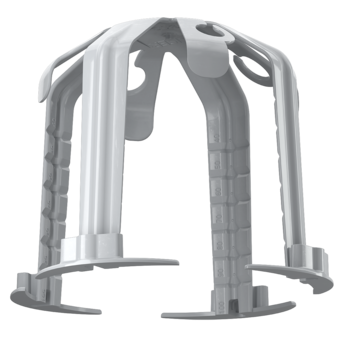
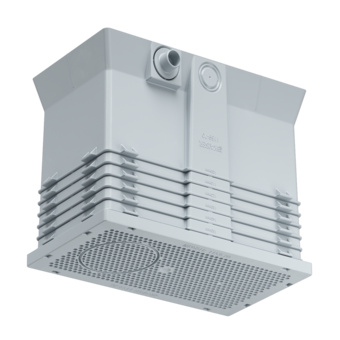
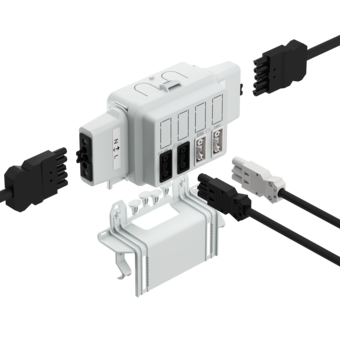
System components

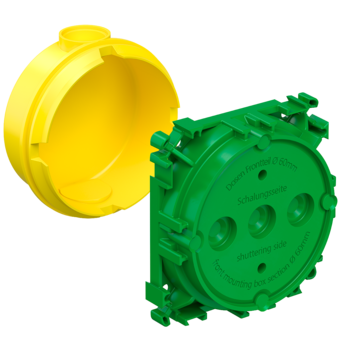
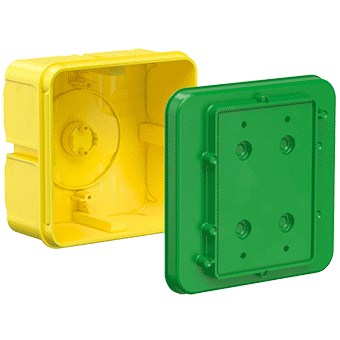
1 Housing | 2 Closing cap of the operating device opening | 3 Quick fastening FX⁴ for cavity wall installation | 4 Front part with bayonet fitting (both sides can be used) | 5 Mineral fibre front part (for variable installation openings up to Ø 86) | 6 Decorative covering Ø 125 (white, similar to RAL 9016, chrome-plated, matt nickel or gold-plated)
Transformer and luminaire installation


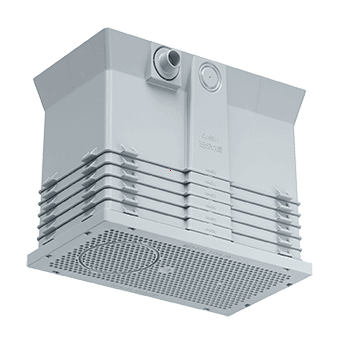
Air-tight installation and fire-preventive protection
ThermoX® protects the surrounding material against the extreme temperatures that can occur with halogen luminaires or LED lamps (over 200 °C).DO NOT install the housing if it is wrapped in insulating material! The distance from the holder and cable to the housing must be at least 25 mm. This protective measure can be taken both in new buildings and later in existing ones for refurbishing work. ThermoX® makes possible air-tight installation as it does not destroy the moisture barrier foil that contributes to the air-tight building shell. Thanks to its air tightness, the ThermoX® housing is also suitable for all suspended ceiling systems where an uncontrolled exchange of air is to be avoided (e.g. air-conditioning or cooling ceilings) and dust-tight installation must be achieved (e.g. prevention of dirt particles caused by material removal).
Mounting option

ThermoX® - installation instruction
ThermoX® installation housings can be fitted in slab or tiled ceilings, as well as in seamless sub-ceiling structures made of plasterboard, mineral fibreboard, MDF and plywood with cross-battening and a layer of insulation above. Installation can be carried out from above or below (e.g. retro-fitting).